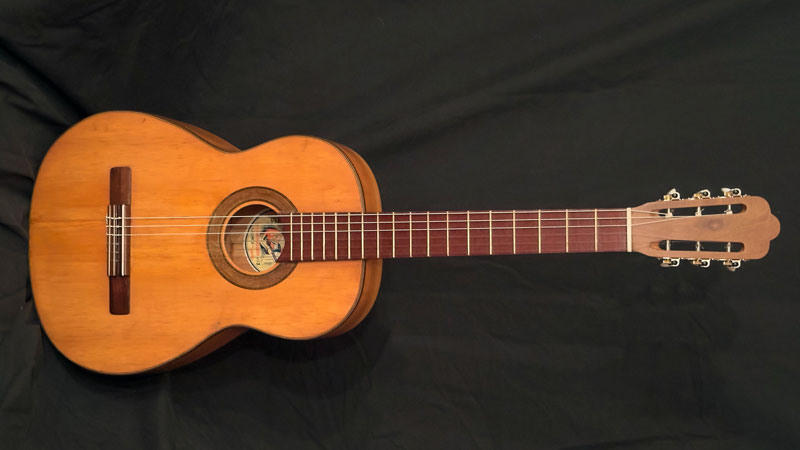
1955 Hijos de Vicente Tatay, SRC
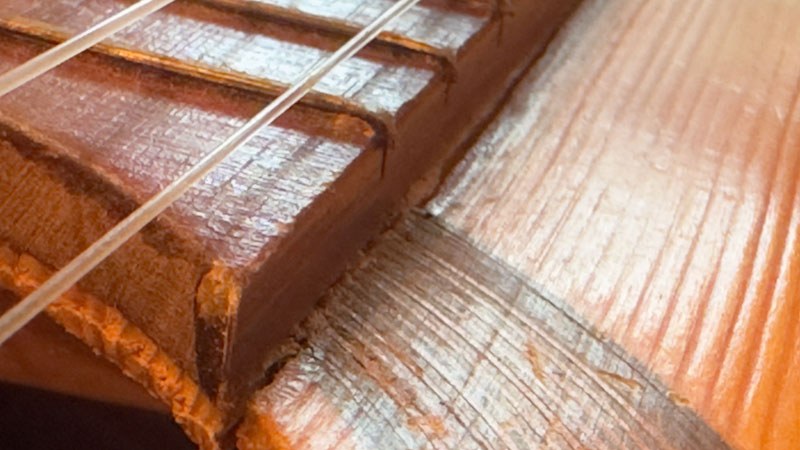
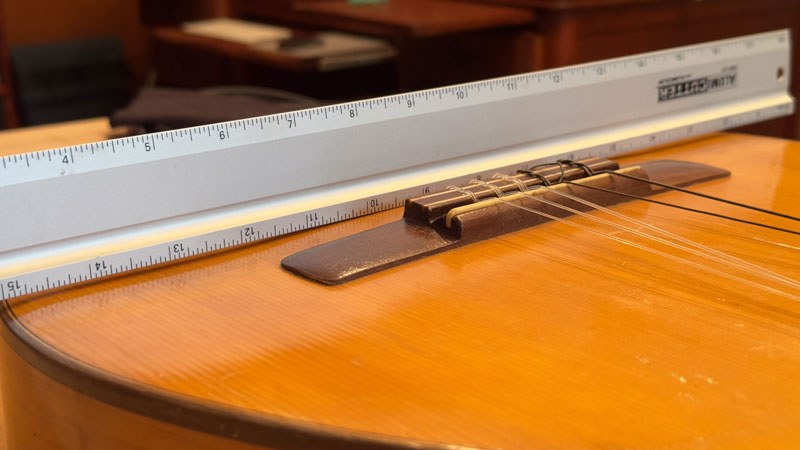
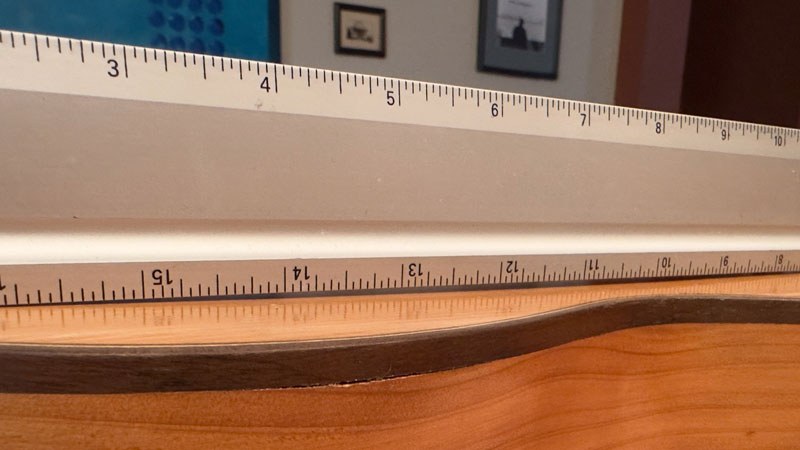
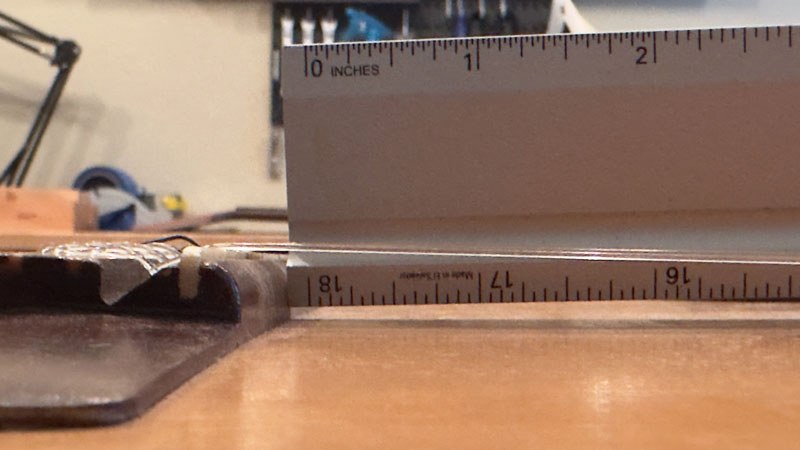
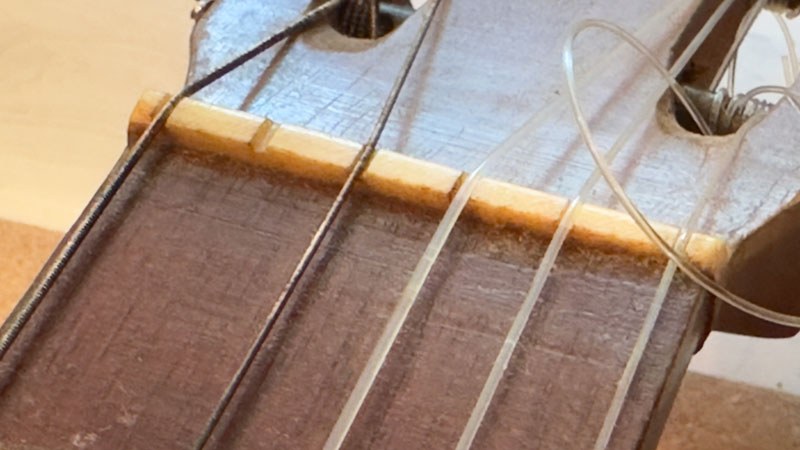
My customer brought a very old, very delicate, classical guitar in need of lots of TLC. This was a 70-year-old guitar that had survived multiple previous repairs and unmonitored storage in very dry West Texas. It suffered from belly bulge, sunken soundhole, lifting bridge, multiple cracks in the top, and a nice hole in the side, along with a concave fretboard, severe fret sprout, worn nut, and non-functional tuning keys. Whew!
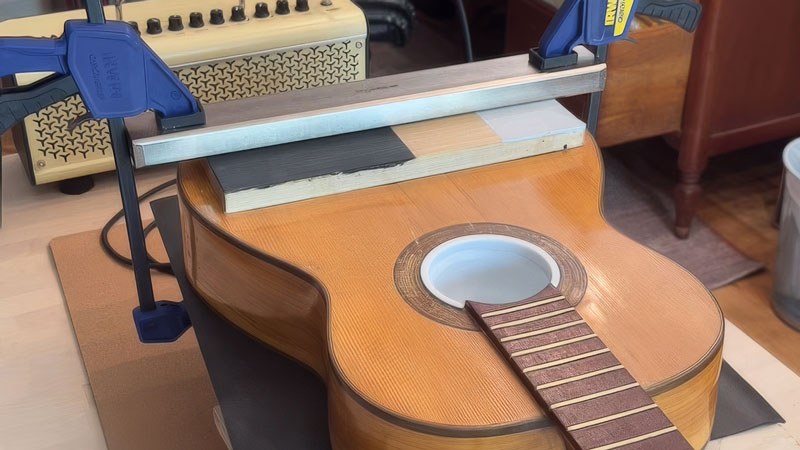
My first priority was to get the guitar hydrated to see if the soundboard deformation might resolve itself to some degree. Two weeks of slow rehydration in an airtight plastic bag yielded no benefit whatsoever. So, I moved on to more invasive procedures using steam and clamps to slowly bend the soundboard back into shape, making small increases in clamping pressure each day for about a week. Since this guitar has no truss rod, I corrected the neck up-bow using heat and clamps and incremental daily adjustments.
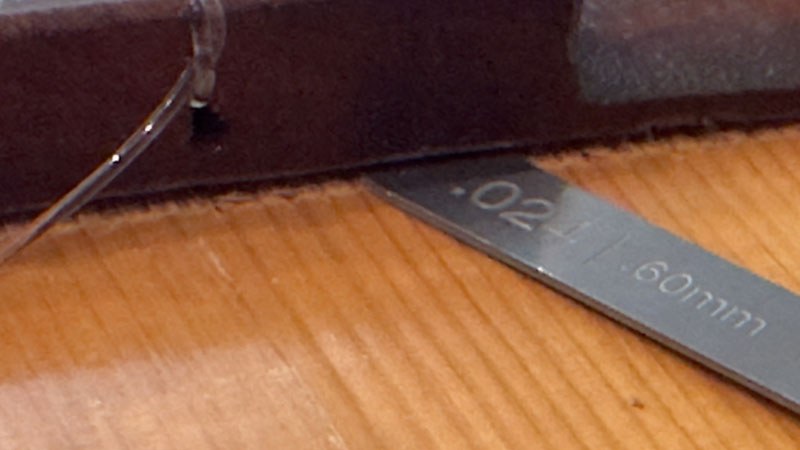
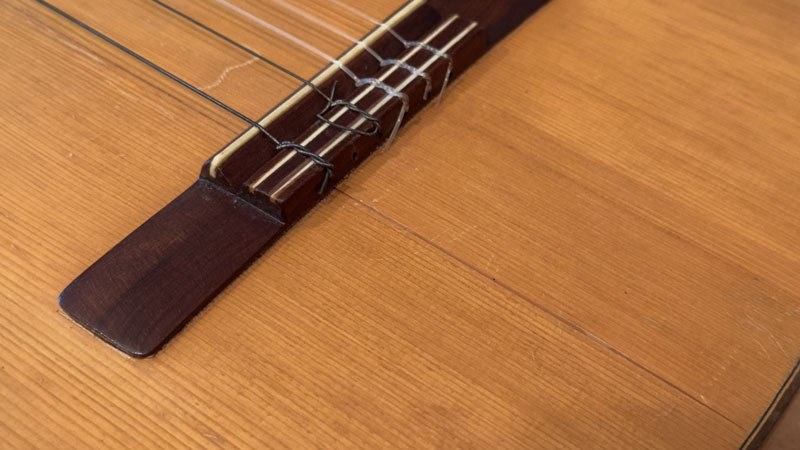
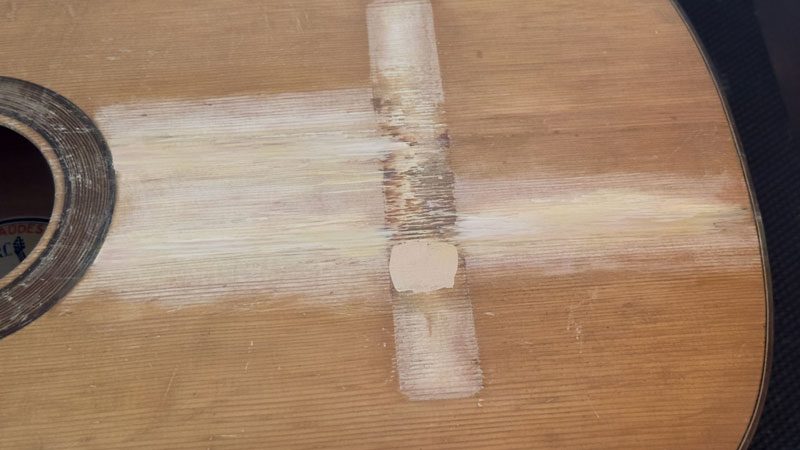
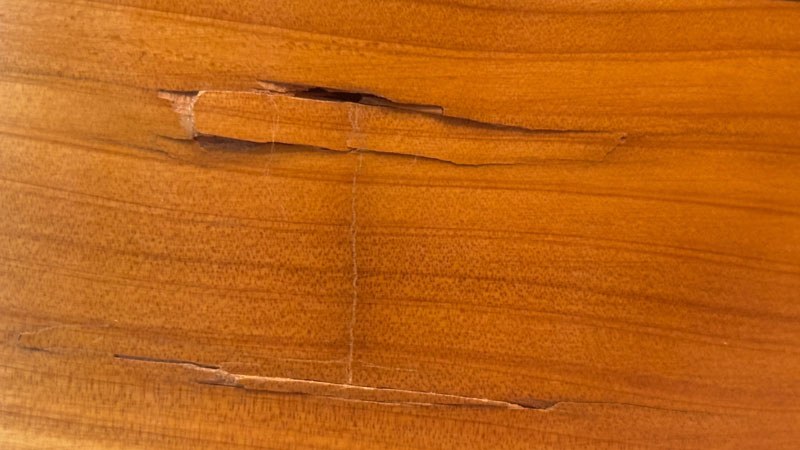
Now that all the wood was in relatively good form, I removed the bridge and got to work on the top cracks. The main crack ran nearly the entire length of the soundboard and only required a pretty standard crack repair — fill with glue, clamp with magnets, and add cleats for support. The second crack, on the other hand, opened up pretty wide when the bridge was removed. Too wide to force closed, so I shaved the crack to be a consistent width and filled with a thin spline of wood. The cracks along either side of the fingerboard were pretty simple to fix with glue and clamping as they already had good support from the neck block. So, after scraping, sanding, and a bit of touchup work, all the cracks were done. Because the guitar top was so brittle, I decided to spray a few coats of clear polyurethane to help preserve the delicate wood surface.
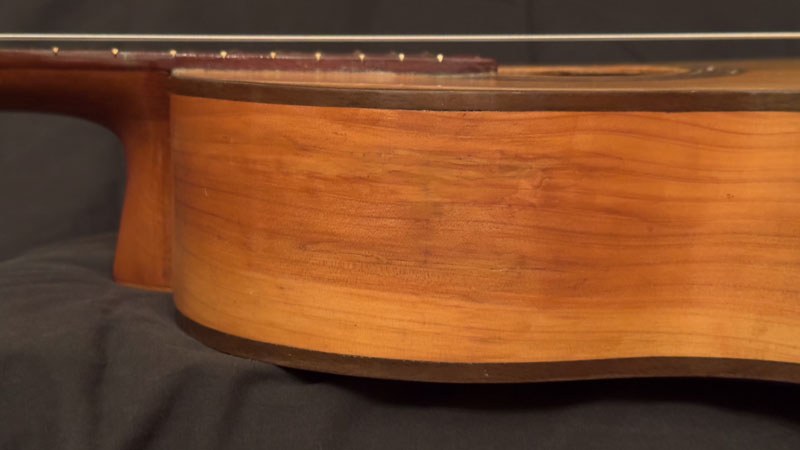
Next, I tackled the hole in the side by slicing out just enough wood slivers to let me manipulate the pieces without causing more damage. Working from both the inside and outside of the body, I got all the pieces into good position, glued it up, and used magnets to apply clamping pressure. After the glue had completely cured, I did a little cleanup and filled the remaining voids with wood epoxy putty. After sanding the epoxy flush, all that was left was to paint in some faux wood grain to try hiding the repair as well as possible. I’m pretty happy with the results, only being noticeable if compared to the original damage.
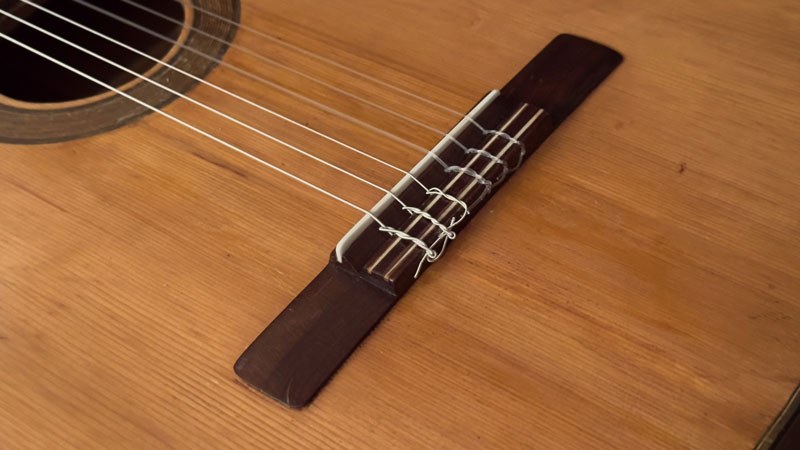
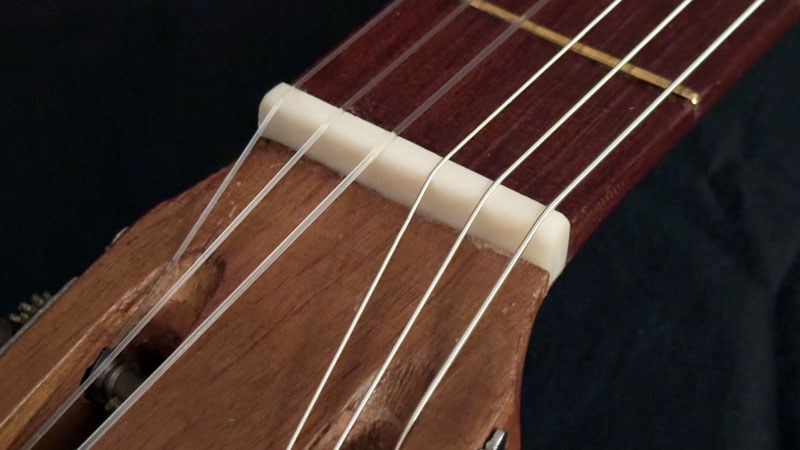
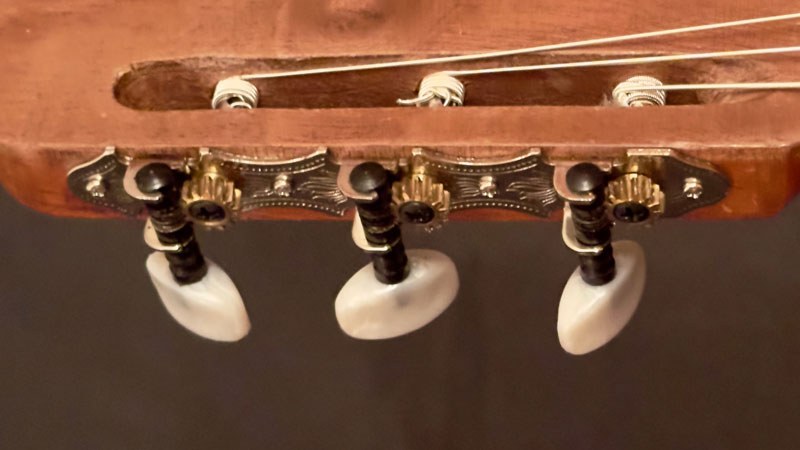
Now that all the structural repairs were complete, I re-glued the bridge, made a new bone nut and intonated saddle, and replaced the tuners with the best compromise we could find to support the original aesthetic of this vintage instrument.
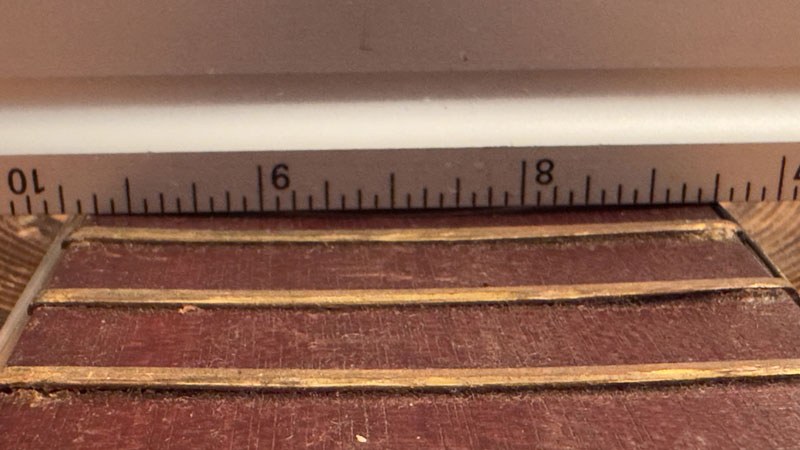
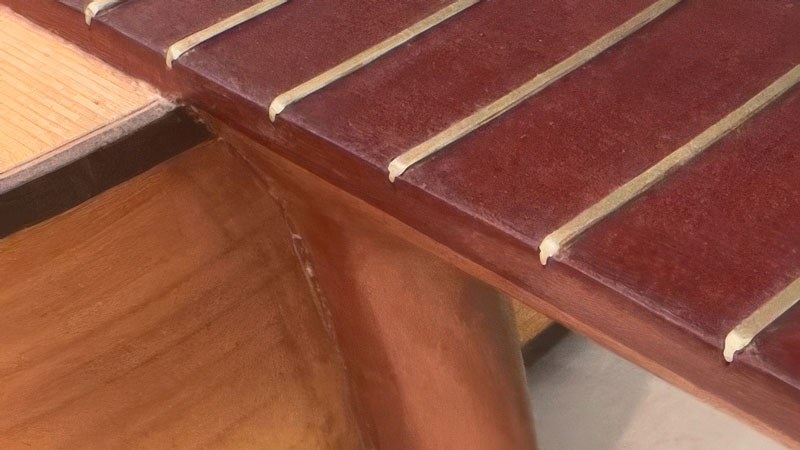
To wrap this job up, I filed down the severe sprout and dressed the fret ends, polished the highly oxidized brass frets, and cleaned up the fingerboard. The frets were really worn beyond leveling, and the guitar needed a full refret. Unfortunately, the concave deformity of the fretboard would have to be addressed before attempting any real fretwork. This all amounted to a very costly amount of work that would have pushed the total repair beyond the value of the instrument.
In this state, the guitar isn’t really playable, but that’s okay, as the customer doesn’t even play. The guitar had belonged to his father and held sentimental value. So, I strung it up, and the customer left happy with a nice piece of wall art to remember his father.